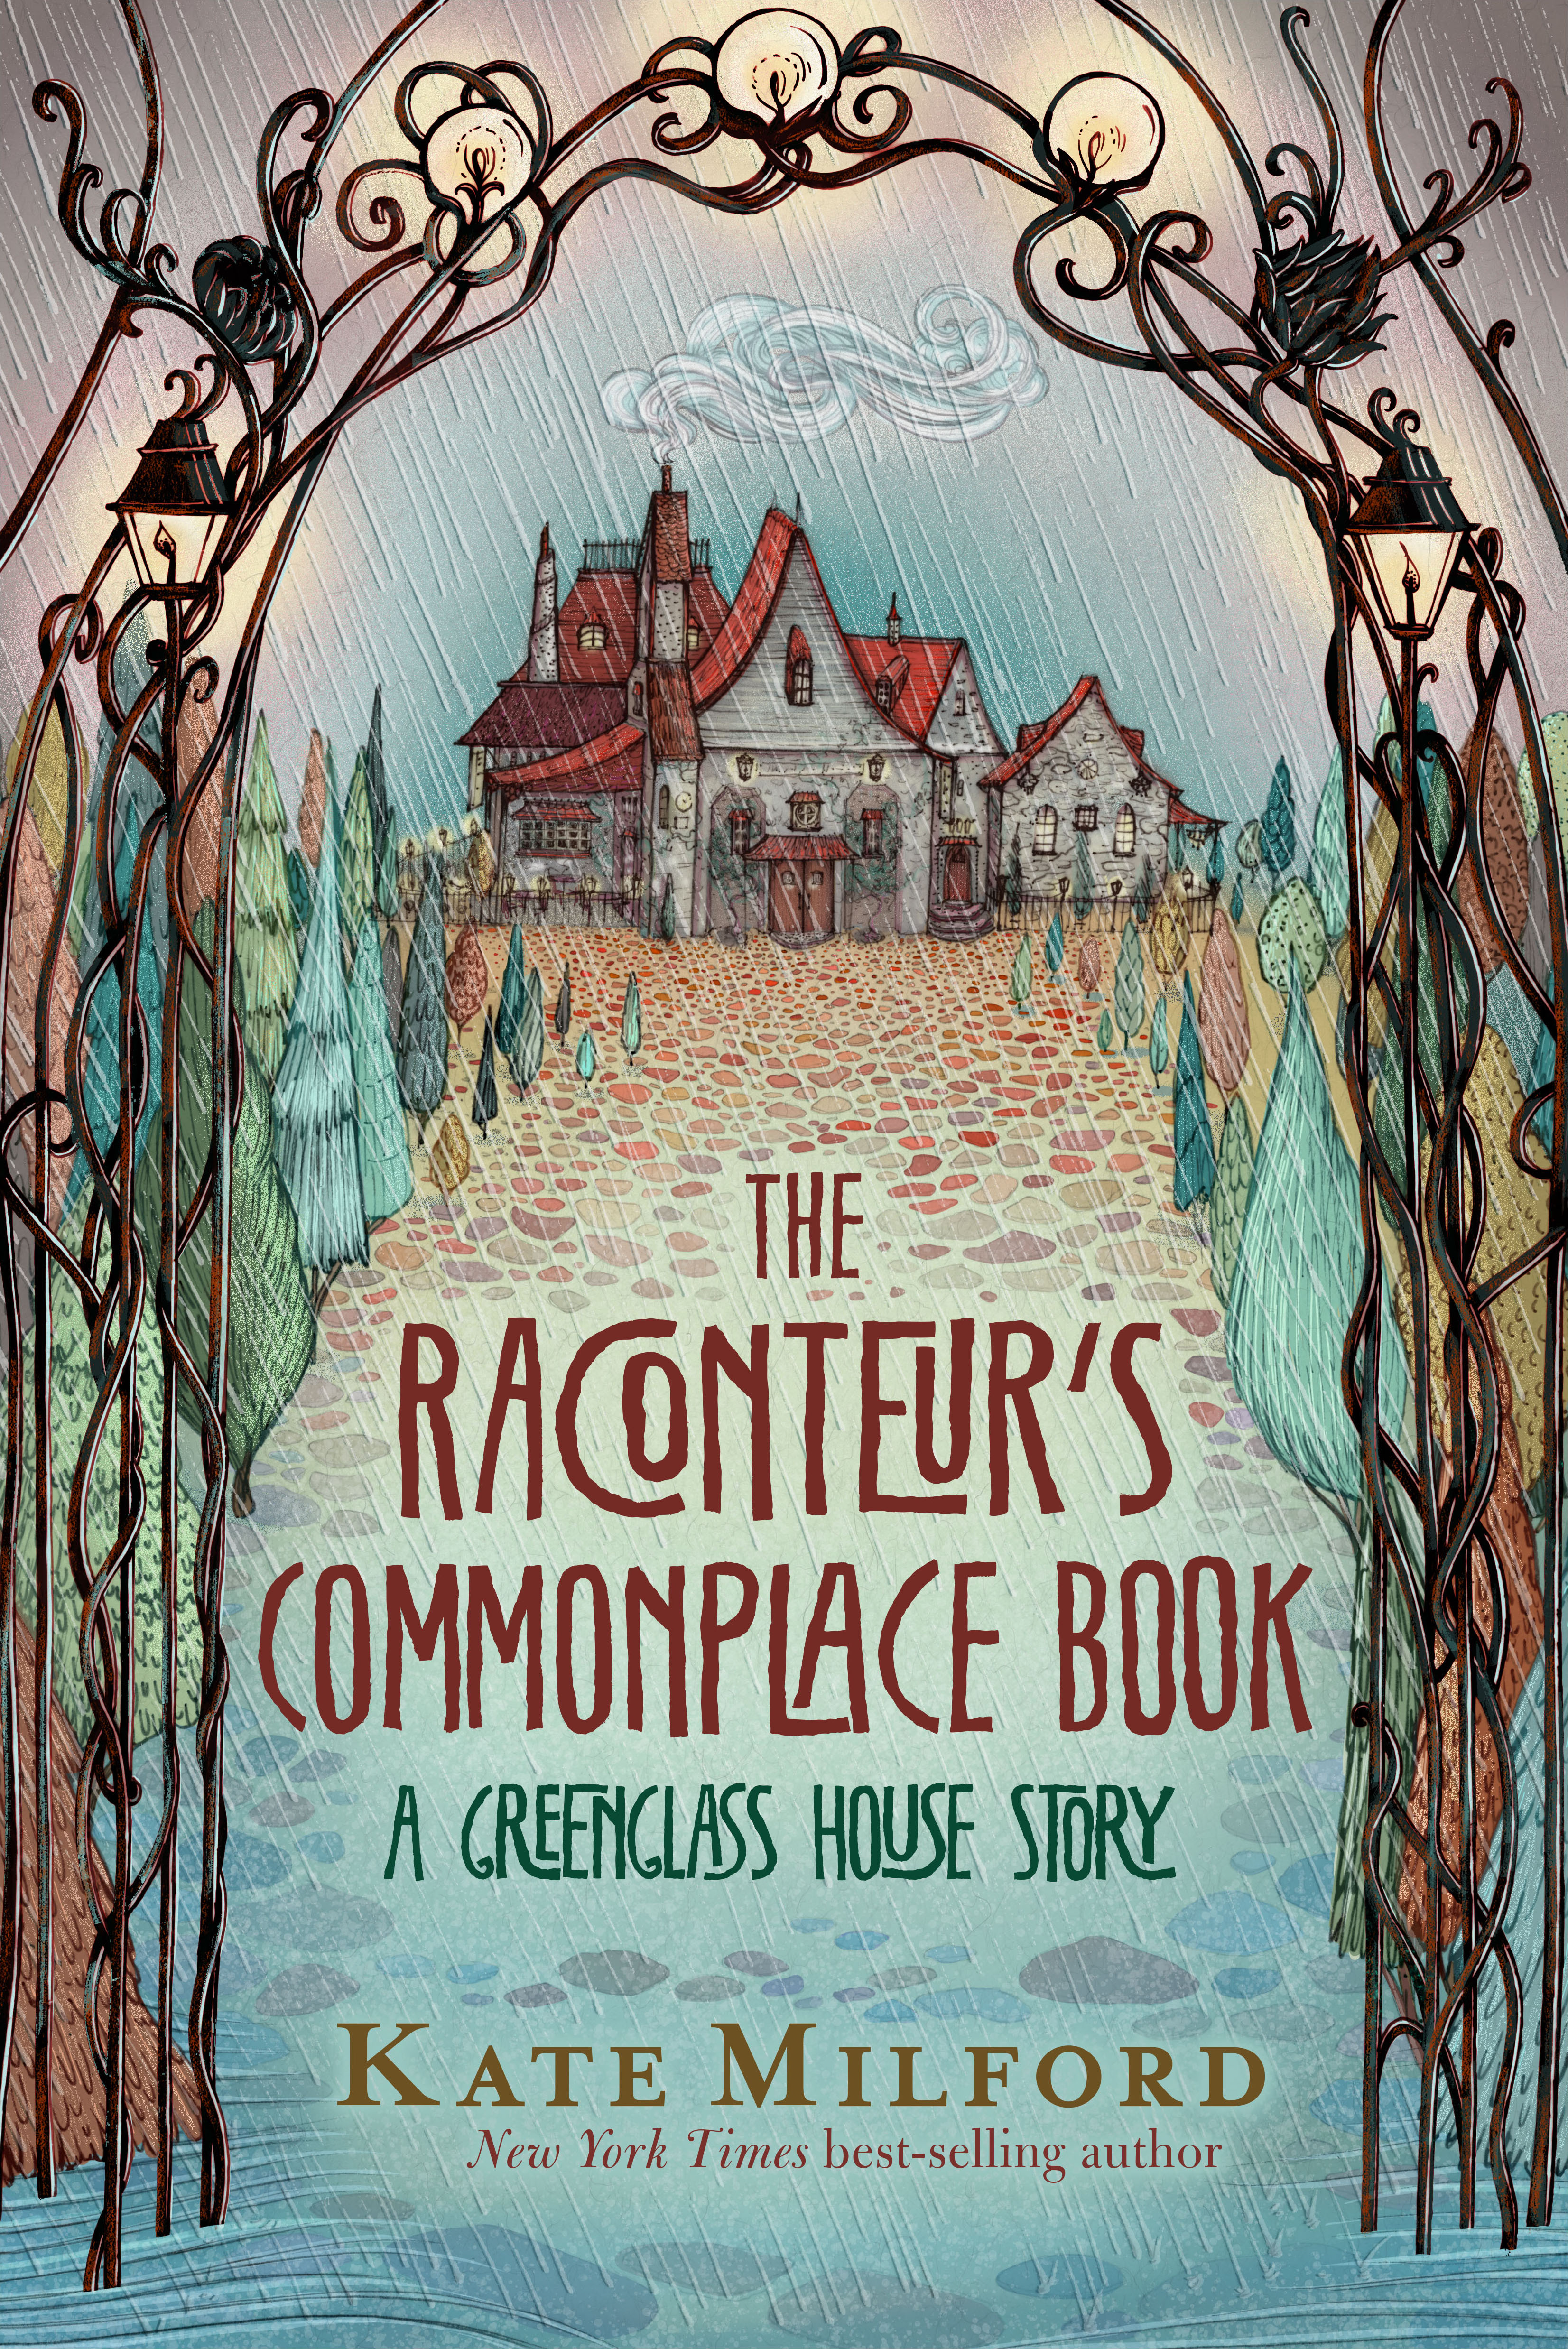
As part of the launch of The Raconteur’s Commonplace Book, I put together a presentation about commonplace books, both real and metaphorical.
I promised to put up some instructions for how to make some simple handmade blank books; some of the teachers who were present asked if I would share a few of the slides as well. So here’s a general resource post for how to begin a commonplace book as a writing project, a collecting project, an art project–or as any kind of project it becomes for you.
(This is probably also a good place to mention that I have a whole presentation on commonplace books and how I use a similar strategy to build stories out of seemingly unrelated bits and pieces. It’s an option you can choose for a one-hour virtual visit for your school or book club, or as part of a full-day visit. Find more information here!)
Now, without further ado: let’s make commonplace books!
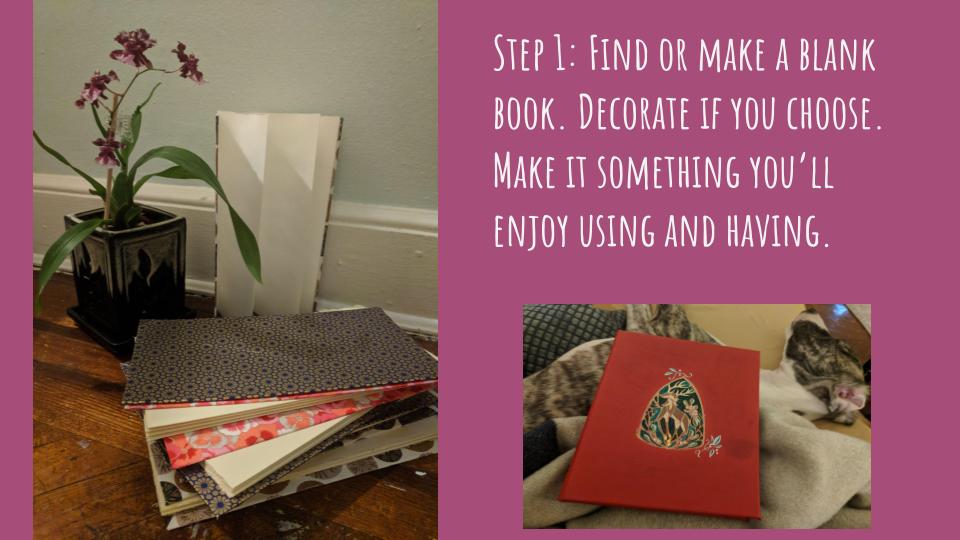
Any notebook, journal, or sketchbook will do, but if you’d like to make a simple hand-bound book yourself, you’ll find my favorite simple recipes below (that part of the post is in progress–apologies for any resulting lack of clarity.
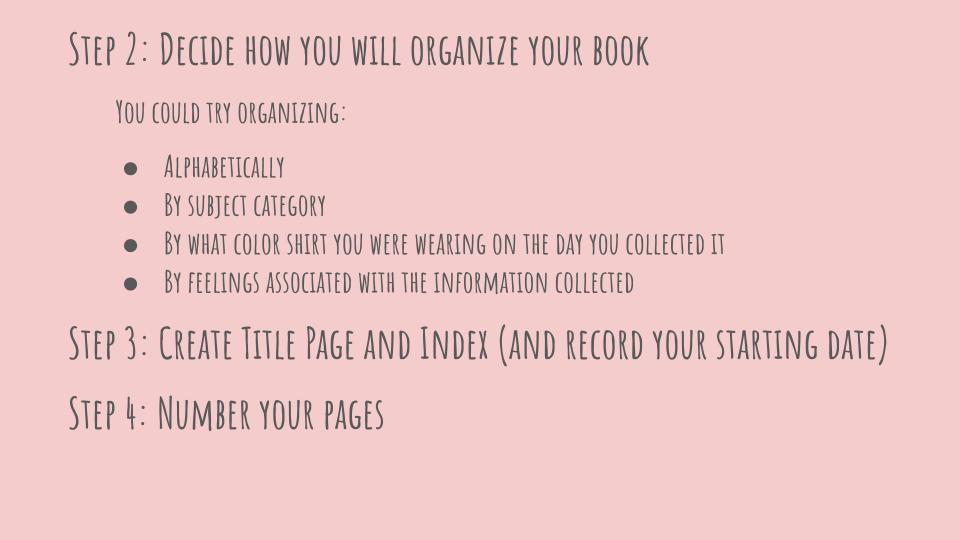
Step 2 here is key. The beauty of a commonplace book–or one of the beauties, because there’s a lot to love about them–is that you can wind up with seemingly unconnected ideas and bits of information piling up on the same page, sharing space and bumping into each other in ways you might never have considered. You can get as creative as you like with how you choose to organize and arrange your commonplace book, but you can also get interesting results and lots of food for thought by simply arranging your entries alphabetically.
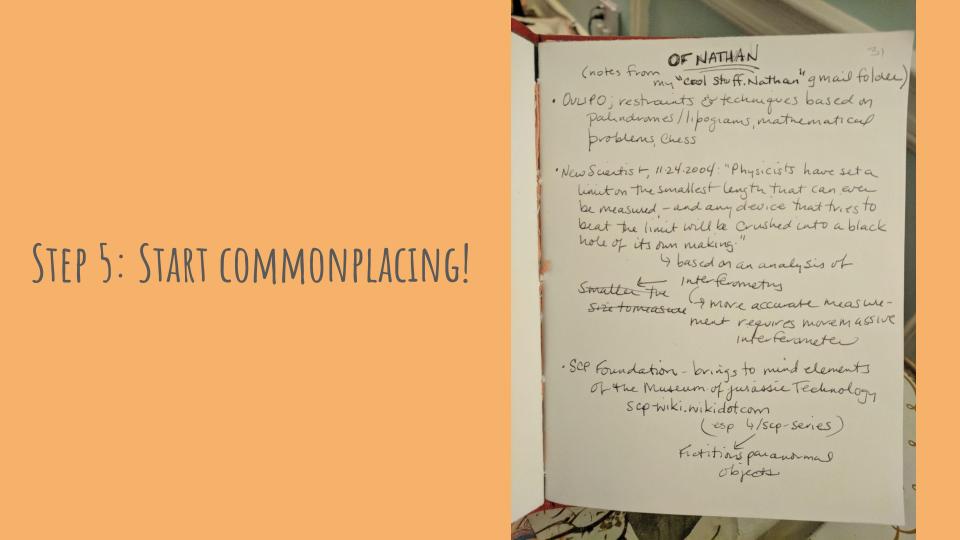
Important here: there are no rules except the ones you chose when you decided on your organizational scheme. You can include your thoughts on whatever you put here–or not! You can paste in pictures or draw them–or not! You can alter the shapes of your pages, you can have scratch-outs and messy handwriting, or you can be obsessively neat if that’s who you are. The point is for your book to be a reflection of what’s interesting to you, and what information and thoughts you want to keep close. It should be something that is both useful and pleasing to you, and hopefully something that will inspire you for years to come. And when you fill it up, start a new one!
Those are the basics! I could talk for hours about commonplace books, though, and if you’d like to hear more, maybe you’d be interested in having me come and speak to your class or book club? Just a thought…
And now: here’s how to make two simple and easy hand-bound journals.
Caveat: you can get as fancy and complicated with these as you want–I am a sucker for fancy papers, for instance, as you can see in that first slide above, in which I have shamelessly set the scene with nothing but journals I made. But the basics are pretty simple, and you can do them with almost any paper you’ve got hanging around.
Make an easy folded-and-stitched journal:
Note: I have pictures to add to this, but this post took far longer than I intended. In the interests of getting the basic info up before the weekend, I’m posting it now even though it’s incomplete.
You will need:
- 6-10 sheets of paper for the interior; printer paper is a great size, but the main thing to keep in mind is that you’re going to be folding your pages in half, so your finished journal will be half the size of whatever page you start out with.
- A sheet of heavier or decorative paper for the cover (this can be either the same unfolded size as the interior pages, or just a bit longer, so that when folded the edges will stick out just a bit past the interior pages like a book cover does)
- A strip of paper as long as the short length of your unfolded paper and about two inches wide, for the jig (explained below)
- A ruler
- A pencil
- A sewing needle
- Thread, preferably embroidery floss or yarn
- A metal spoon
- A stack of heavy books larger than the finished size of your journal
- A piece of cardboard to protect the surface you’re working on
Begin by folding your cover paper and your interior pages in half. I do this one page at a time because it makes it easier for me to line the edges up neatly. Make the edge nice and crisp by running the spoon (round side down, to avoid marking or wrinkling your paper) along the fold.
Make your book block, the interior of your journal: tuck the folded pages inside each other one by one so that each folded page nestles inside another. Note that your outside edge, the one opposite the fold, won’t line up perfectly: the innermost pages will stick out a bit further. This is normal. You can cut it later to try to even it out, but when I do that I never manage to do it neatly, and I wind up wishing I’d just left it. So that’s up to you–but if you make your cover paper just a bit longer than your interior paper, the slightly longer edges of the cover will mask it a bit.)
Tuck the folded interior stack inside the cover, and set it all aside.
Make a jig for poking your sewing holes: take that narrow strip of paper, which should be the height of your folded book block. Fold the strip in half longways, so now it’s a tall, narrow folded thing. Now open it back up and fold it in half the other way, the short way. Grab your ruler. Measure and make a mark with the pencil an inch from each end of the long fold. Next, find the place where the short fold crosses the long fold, and measure a quarter-inch to either side of the crossing spot (still marking on the long fold). You should now have four marks: two near the top and bottom end, and two close to the middle.
Take the jig and fold it long ways again, with the pencil marks on the inside of the fold. These will be the marks to guide you when you make holes for stitching the binding. Tuck the jig inside the book block so it fits inside the center fold. You should still be able to see the marks you made.
Make sure your pages are lined up neatly. Then, holding one side of the book down on the cardboard work surface, use the needle to poke four holes through the stack at the fold, using the marks you made on the jig as a guide. (If you have trouble poking the needle through all the pages at once, you can do them in groups, using the jig to make sure each group has its holes in the same place.) When you finish, remove the jig and set it aside.
Thread your needle, giving yourself about a full arm’s length of thread. Sew the binding as follows:
Beginning outside the book block (rather than inside the fold), pass the needle and thread through one of the center holes. Your needle is now inside the fold. Pull the yarn through, leaving about three inches of thread outside.
Bring the needle through from the inside of the fold out, through the adjacent hole at the end nearest your starting center point.
Holding the three-inch tail with one hand so you can keep your yarn tight, bring the needle back through the same hole you started with. Pull thread tight (keeping that three-inch tail secure)–but don’t pull too tight or your thread will cut your paper. Your needle and yarn are now inside the fold again.
Pass the needle back to the outside through the second, unused, center hole.
Pass the needle back to the inside through what is now the nearest adjacent end-of-book hole, the only remaining unused one. Your needle is now on the inside of the fold again.
Come back through the second center hole. Your needle is now outside again.
Make sure your thread is nice and tight and secure (but don’t pull too hard, or your thread will cut the paper of your book block). Then knot the thread end attached to the needle with the three-inch tail you left at the beginning. I use a reef knot (left end over right, right end over left), but any secure knot will do.
Trim the ends of your thread if you want (or leave them long if you prefer). Your journal is ready!
Accordion-folded journals and optional cardboard covers for the simple folded-and-stitched journals coming in the next few days!